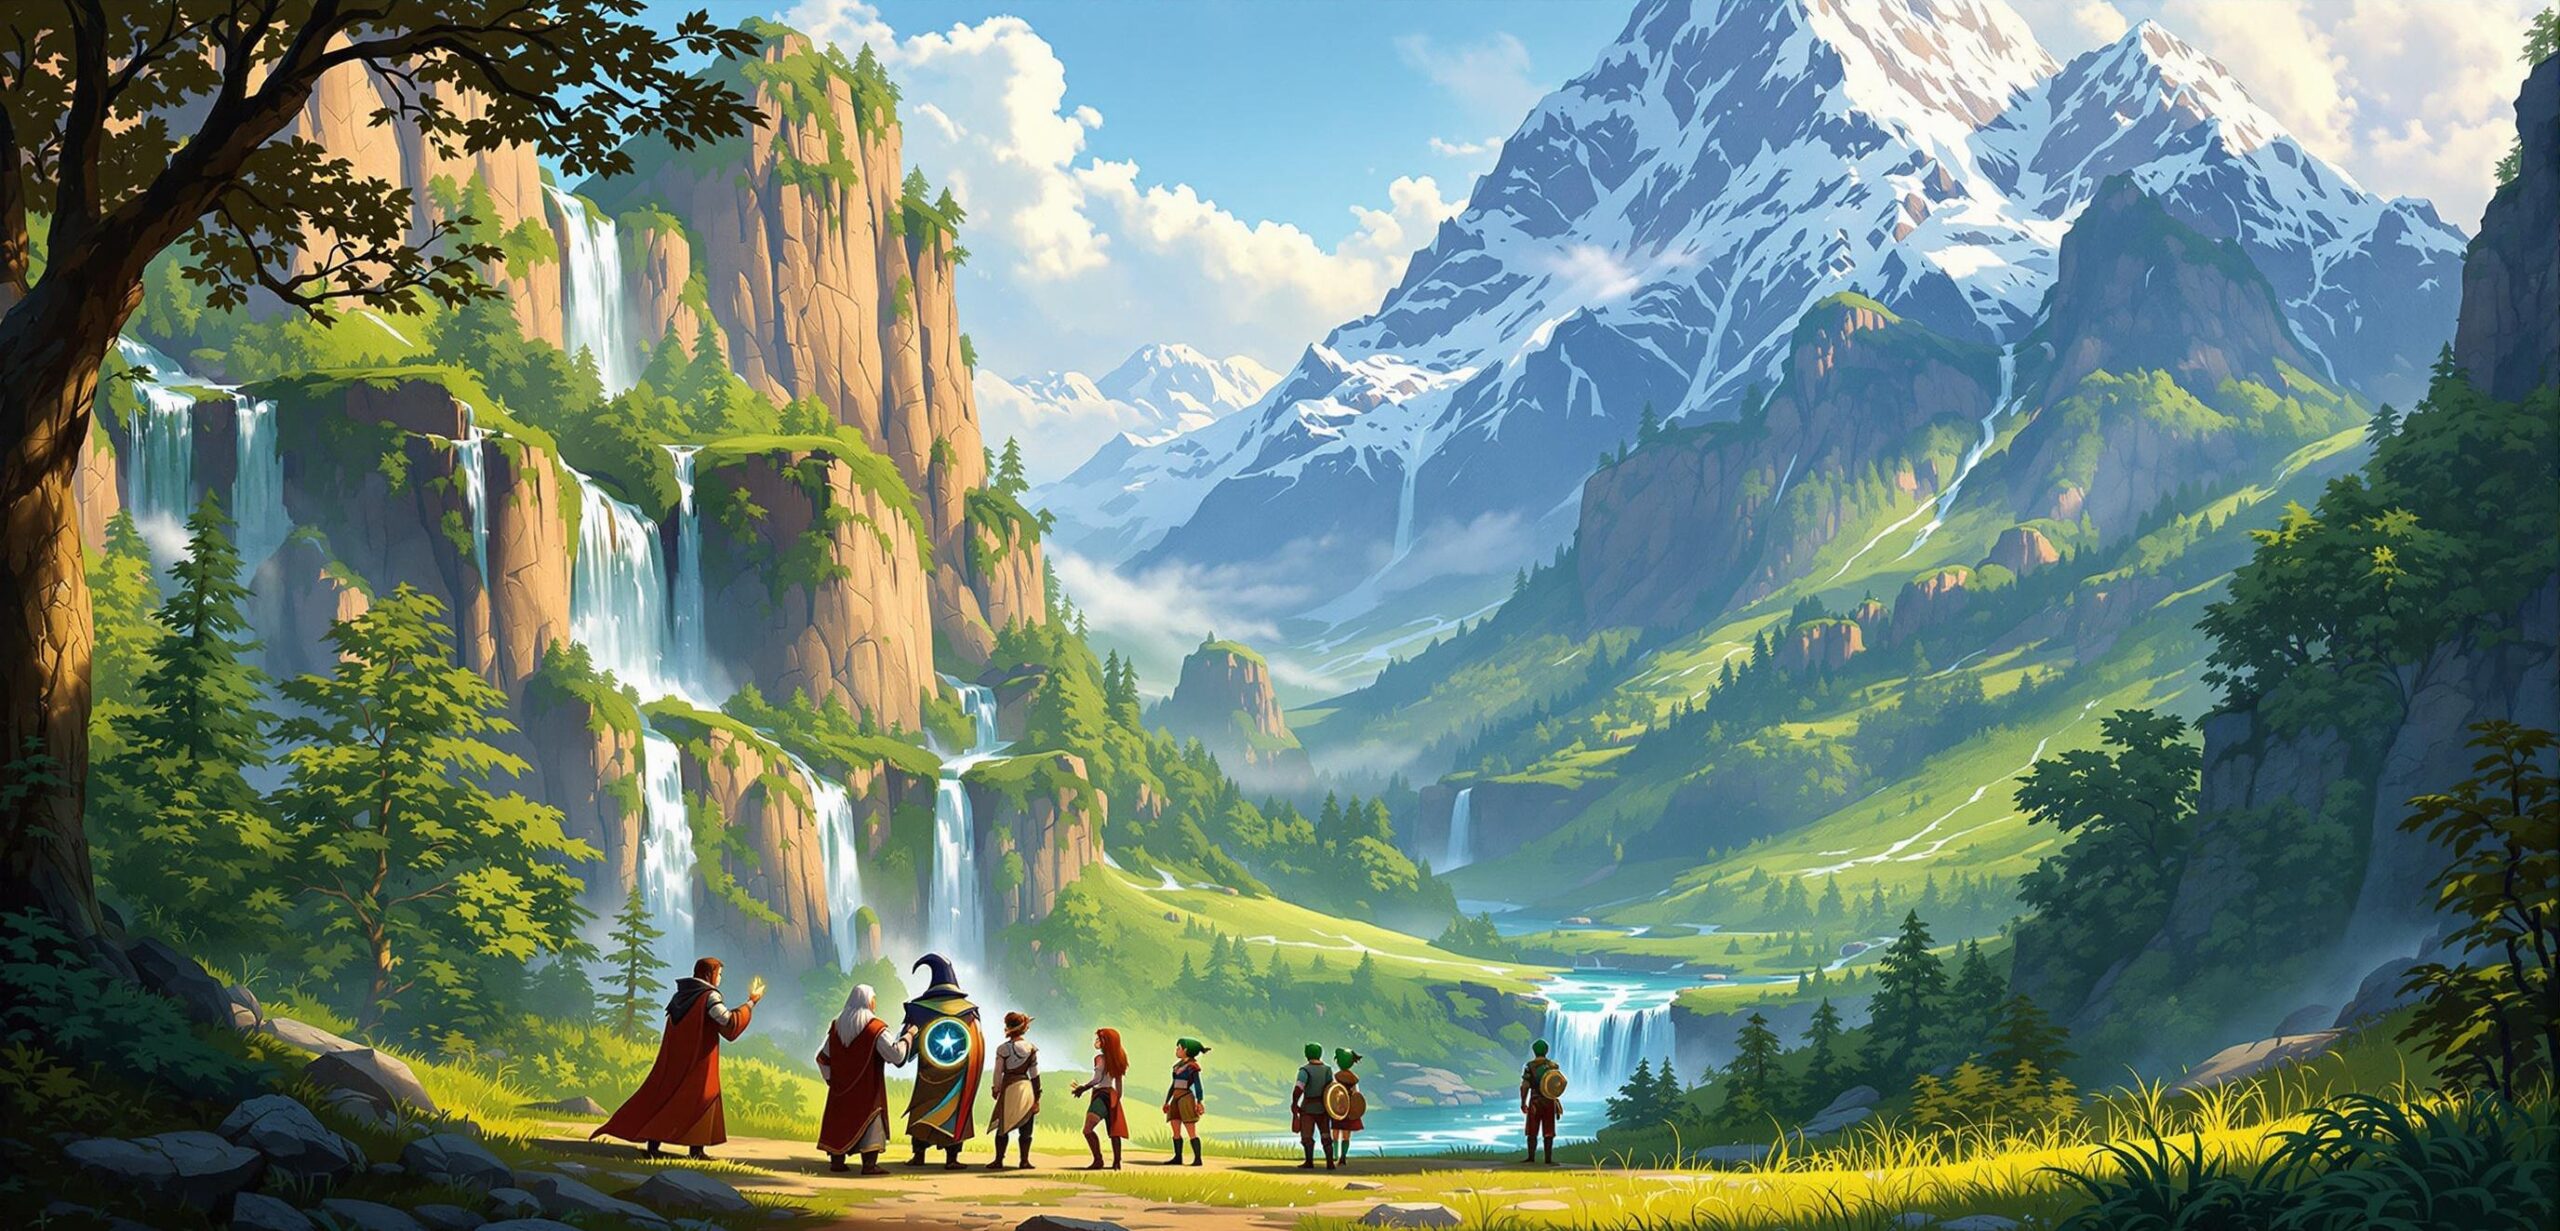
How to Create a Story Outline in 7 Simple Steps
Want to write a great story but don’t know where to start? A story outline is your roadmap. It helps you organize ideas, avoid plot holes, and keep your narrative on track. In just 7 steps, you can create a clear, actionable outline to guide your writing process.
Here’s a quick overview of the 7 steps:
- Define Your Premise: Identify the protagonist, their goal, and the central conflict.
- Create Main Characters: Flesh out relatable characters with motivation, internal conflict, and growth arcs.
- Choose a Narrative Framework: Pick a structure like the Three-Act format or Hero’s Journey.
- Break Down Key Scenes: Map out pivotal moments that drive the story forward.
- Add Connecting Details: Build transitions and enrich scenes with tension and depth.
- Review and Refine: Ensure logical flow, pacing, and consistent character arcs.
- Finalize and Start Writing: Use your outline as a flexible guide to bring your story to life.
Why this works: Outlining saves time, keeps your story cohesive, and allows creativity to flourish within a structured plan. Ready to dive deeper into each step? Keep reading!
The Simplest Way to Outline Your Novel
Step 1: Define Your Story Premise
Every great story begins with a well-defined premise. This is the foundation of your narrative, keeping your writing focused and your ideas clear.
Identifying the Premise
Your story’s premise boils down to three key elements: the protagonist, their goal, and the central conflict. To craft yours, answer these questions:
| Element | Key Question | Purpose |
|---|---|---|
| Protagonist | Who is the main character? | Sets the story’s perspective |
| Goal | What do they want? | Drives the narrative forward |
| Conflict | What stands in their way? | Adds tension and keeps it engaging |
Once you’ve answered these, combine them into a single sentence. Keep it concise yet flexible enough to allow room for creativity.
Examples of Clear Premises
Let’s look at a couple of examples from well-known stories:
- The Hunger Games: A teenage girl fights for survival in a death match to protect her sister and challenge an oppressive regime.
- Star Wars: A New Hope: A young farm boy joins a rebellion to fight an evil empire and discover his destiny.
When crafting your premise, focus on a single main conflict, clarify the stakes, and give your protagonist a strong, relatable motivation. Highlight what sets your story apart to make it stand out.
Your premise serves as the driving force behind your narrative. Once it’s solid, you’re ready to move on to building compelling main characters.
Step 2: Create Your Main Characters
Once you’ve nailed down your story premise, it’s time to focus on the characters who will drive your narrative. Strong, well-developed characters are what keep readers engaged and invested.
Building Relatable Characters
Your characters should have clear motivations that tie into their main goals while introducing enough tension to keep the story moving. To shape your characters effectively, focus on these three key aspects:
| Element | Purpose | Key Questions |
|---|---|---|
| Motivation | Guides their actions | What do they want, and why do they want it? |
| Internal Conflict | Adds complexity | What inner struggles affect their decisions? |
| Character Arc | Tracks their growth | How will they evolve over the course of the story? |
Dive into their background, personality traits, relationships, and flaws to make them feel real and relatable. Think about how their personal journeys will influence major events in your story and help shape its overall direction.
Tools for Developing Characters
Platforms like Writing Peers offer resources to help you map out your characters systematically. Focus on showing emotional growth through their actions and interactions with others. Make sure their arcs naturally tie into your plot, creating opportunities for them to grow and change in ways that feel authentic.
Once your characters are fully fleshed out, you’re ready to start building the framework that will guide their journey.
Step 3: Select a Narrative Framework
The framework you pick will determine how your characters’ journeys unfold and how their arcs tie into the overall story. Choosing the right structure helps keep your narrative organized and engaging for readers.
Common Story Structures and Their Uses
Different frameworks fit different storytelling styles. Here’s a quick guide to some popular structures and when to use them:
| Structure Type | Best For | Key Characteristics |
|---|---|---|
| Three-Act | Novels and films | Setup, confrontation, resolution |
| Linear | Chronological storytelling | Events unfold in time order |
| Circular | Theme-driven stories | Ending loops back to the start |
| Plot-Driven | Action-packed narratives | Focus on events and pacing |
The Three-Act structure, for example, breaks the story into three clear parts: setup, confrontation, and resolution. This makes it a go-to for traditional novels and movies.
When choosing a structure, think about your genre, target audience, the complexity of your plot, pacing, and the themes you want to explore.
Tools and Resources for Structuring Your Story
For a deeper dive into frameworks, check out Christopher Vogler’s The Writer’s Journey. It dives into the Hero’s Journey, a powerful storytelling tool used in many successful narratives.
Platforms like Writing Peers offer interactive tools to help you map out your story structure. Their templates allow you to visualize how your story elements fit together, giving you the freedom to test different frameworks before settling on one.
Pro tip: Use frameworks as a jumping-off point, not a rigid set of rules. Sometimes, blending elements from multiple structures can better serve your story.
Your framework should enhance your story’s natural flow while keeping readers intrigued. Once you’ve chosen a structure, you can start breaking your story down into key scenes that bring it to life.
Step 4: Divide Your Story into Key Scenes
Now that you’ve chosen your structure in Step 3, it’s time to break your story into important scenes. These scenes are the backbone of your plot and character development. Each one should stand on its own with a clear goal, some kind of conflict, and a resolution.
Setting Scene Goals
Every scene needs a purpose – whether it’s pushing the story forward, deepening character arcs, or building tension. Here’s a breakdown of what scenes can achieve:
| Scene Component | Purpose | Example Goal |
|---|---|---|
| Plot Development | Move the main story forward | Reveal a critical piece of evidence |
| Character Growth | Show personal evolution | Highlight a shift in perspective |
| Conflict Introduction | Add tension or stakes | Introduce a new challenge |
| World Building | Enrich the setting | Showcase a key location |
When planning, think about the scene’s purpose, how it connects to the scenes before and after, what changes it brings, and which characters are involved. The best scenes often serve more than one purpose. For example, a heated argument might not only push the story forward but also expose new facets of a character.
Scene Planning Tools
Tools like scene cards can help you stay organized and focused on what each moment in your story needs to achieve. Here’s what to include when planning:
| Element | Details to Include |
|---|---|
| Scene Goal | The main objective driving the scene |
| Key Players | Characters central to the action |
| Time/Setting | Where and when the scene takes place |
| Emotional Impact | How it affects characters and the plot |
Using a flexible outline for your scenes gives you room to experiment with their order until you find the flow that works best for your story.
Once you’ve mapped out these pivotal moments, you can focus on weaving them together into a cohesive narrative that keeps readers hooked.
sbb-itb-c17b0a0
Step 5: Add Details Between Major Plot Points
Once you’ve pinpointed your key scenes in Step 4, it’s time to connect them with meaningful transitions and details that enrich your story. These links turn a basic outline of events into a well-rounded narrative.
Building Engaging Scenes
Transitional scenes should have a clear purpose while keeping the story moving forward. Here’s how you can make them impactful:
| Purpose | How to Achieve It |
|---|---|
| Character Growth | Highlight changes through decisions and conflicts |
| Setting Exploration | Weave in details about the world that affect the story |
| Subplot Advancement | Push secondary storylines forward between main events |
| Tension Development | Create suspense to lead into the next big moment |
For instance, if your protagonist makes a pivotal choice in a key scene, follow up with moments that explore how it affects relationships, decisions, or their environment. These smaller moments can add depth and emotional weight to your story.
Keeping the Story Flowing
Smooth transitions are essential to keep readers hooked and to guide them toward major plot points. Focus on these types of transitions:
- Emotional Transitions: Use character reactions and inner development to bridge scenes.
- Plot-Driven Transitions: Show how one event directly triggers the next.
As you craft these connecting scenes, keep these tips in mind:
- Push character arcs forward with meaningful challenges or conflicts.
- Include backstory only when it serves the current narrative.
- Build suspense, but don’t let it overshadow the main events.
- Keep the pacing consistent throughout.
Your outline should stay flexible to allow for new ideas, but every connecting scene must add something – whether it’s a character insight, a plot twist, or a deeper understanding of the world. Each one should move the story forward while adding layers to your narrative.
Once you’ve added these details and transitions, you’re ready to review and polish your outline for a stronger, more cohesive structure.
Step 6: Review and Refine Your Outline
After mapping out your major plot points and connecting them with detailed scenes, it’s time to step back and take a closer look. This step transforms your initial framework into a well-structured guide for your story.
Why Revision Matters
Reviewing your outline helps you spot potential issues early, saving you headaches during the actual writing process. Here’s what to focus on:
| Aspect to Review | Purpose | Questions to Ask |
|---|---|---|
| Plot Progression | Ensures logical flow | Does each scene naturally lead to the next and build tension? |
| Character Arcs | Tracks character growth | Are motivations consistent, and is growth clear? |
| Pacing | Keeps readers engaged | Does the story move at a good pace without dragging or rushing? |
| Theme Integration | Reinforces the core message | Do the scenes support the story’s central themes? |
How to Strengthen Your Outline
Here are some areas to zero in on while refining your story:
Character Development
- Make sure your characters grow meaningfully through the plot.
- Double-check that their decisions align with their personalities and motivations.
- Ensure their personal journeys tie into the story’s overarching ideas.
Plot Flow
- Verify that every scene moves the story forward in a purposeful way.
- Ensure major events are properly set up and have satisfying resolutions.
- Adjust pacing where the story feels too slow or too rushed.
Scene Purpose
Each scene should achieve at least one of these goals:
- Move the main plot forward.
- Deepen character relationships.
- Expand the world of your story.
- Reinforce key themes.
Tips for Reviewing
- Read your outline in one go to get a sense of the overall flow.
- Highlight any scenes that feel out of place or unnecessary.
- Pinpoint areas where tension could be increased.
- Explore ways to add complexity to character conflicts.
When your outline feels cohesive and polished, you’ll be ready to dive into writing with a clear roadmap in hand.
Step 7: Complete Your Outline and Start Writing
Finalizing Your Outline
Think of your outline as the backbone of your story. It’s not just a plan – it’s the framework that helps you bring your ideas to life. A finished outline gives you structure while leaving room for creativity.
Key Elements to Check:
| Component | What to Look For | Why It’s Important |
|---|---|---|
| Plot Flow | Events connect smoothly and logically | Keeps the story engaging |
| Character Arcs | Clear paths of growth for characters | Ensures meaningful development |
| Story Structure | Balanced acts and pacing | Maintains reader interest |
Turning Your Outline Into a Story
Now it’s time to take your outline and turn it into a complete story. Here’s how to get started:
- Set Small Writing Goals: Break your outline into smaller, manageable sections. Focus on writing one scene or chapter at a time. This keeps the process less overwhelming and helps you stay on track.
- Stay Flexible: Treat your outline as a guide, not a rigid rulebook. If your story takes an unexpected turn, adjust the outline to accommodate new ideas while keeping the overall structure intact.
- Use It as a Reference: Keep your outline handy while writing. It’ll help you stay consistent with character details, plot points, and themes, ensuring your story stays cohesive and aligned with your vision.
With your outline in place, you’re ready to dive into writing and bring your story to life.
Conclusion: Begin Your Story with Confidence
A Quick Recap of the 7 Steps
The process of defining your premise, building characters, choosing a framework, organizing scenes, adding details, refining your outline, and finalizing it offers a structured path for creating your story. Each step builds on the one before it, giving you a strong base for your narrative.
Moving Forward as a Writer
Your outline is your roadmap, keeping your story structured and on track. Break it into smaller, manageable parts, focusing on one scene or chapter at a time. This approach helps you:
- Keep track of character growth and arcs
- Ensure the plot stays consistent
- Balance the pacing of your story
- Spot and fix potential problems early
- Stay focused on your narrative’s direction
Let your framework guide you as you develop scenes, but leave room for creativity. If new ideas come up, consider how they fit into your structure before adding them. Keep your outline within reach while writing to maintain consistency in how your characters evolve, how the plot unfolds, and how themes are explored.
With your outline in hand, you’re ready to bring your story to life – scene by scene.
Additional Resources for Writers
Having the right tools can make outlining your story much easier. Below are some resources to help you along the way:
Tools from Writing Peers
Writing Peers offers a variety of resources, including character workbooks, plot templates, pacing guides, and worldbuilding tools. We also provide free options like dialogue tips, beta reader templates, and a writer’s resource kit to help refine your process.
Must-Have Writing Software
Different software can assist with various parts of your outlining process:
| Tool Type | Recommended Options | Purpose |
|---|---|---|
| Story Planning | Writing Peers | Structuring your overall narrative |
| Research Organization | Notion, Evernote | Keeping track of story notes and ideas |
| Visual Mapping | Milanote, Scrivener | Mapping out scenes and character links |
Here’s how these tools can fit into your outlining journey:
- Milanote: Great for visualizing scenes during Step 4 of your outline.
- Scrivener: Perfect for organizing your narrative framework from Step 3.
- Writing Peers’ Character Workbooks: Useful for deepening character arcs from Step 2.
Online Communities and Support Networks
Engaging with online communities like NaNoWriMo or exploring resources such as Helping Writers Become Authors can provide valuable feedback, encouragement, and motivation. These platforms can complement the tools mentioned above, giving you both practical help and a sense of connection.
FAQs
Answers to common questions about story outlining:
What are the 7 steps in writing an outline?
- Define your premise
- Create main characters
- Select a narrative framework
- Divide into key scenes
- Add connecting details
- Review and refine
- Complete and write
What is the 7-step novel outline?
This process mirrors the steps listed above, emphasizing character development, scene planning, and organizing the story’s structure. For a deeper dive into each step, check out the earlier sections.
How do you structure a 3-act story?
The 3-act structure breaks your story into three key parts:
- Act 1 (Setup – 25%): Introduce the main characters and the inciting incident that sets the story in motion.
- Act 2 (Confrontation – 50%): Develop conflicts and challenges that push the characters and drive the plot forward.
- Act 3 (Resolution – 25%): Tie up the story’s conflicts and resolve character arcs.
This structure, detailed in Step 3, helps keep your pacing and storytelling on track [1].